


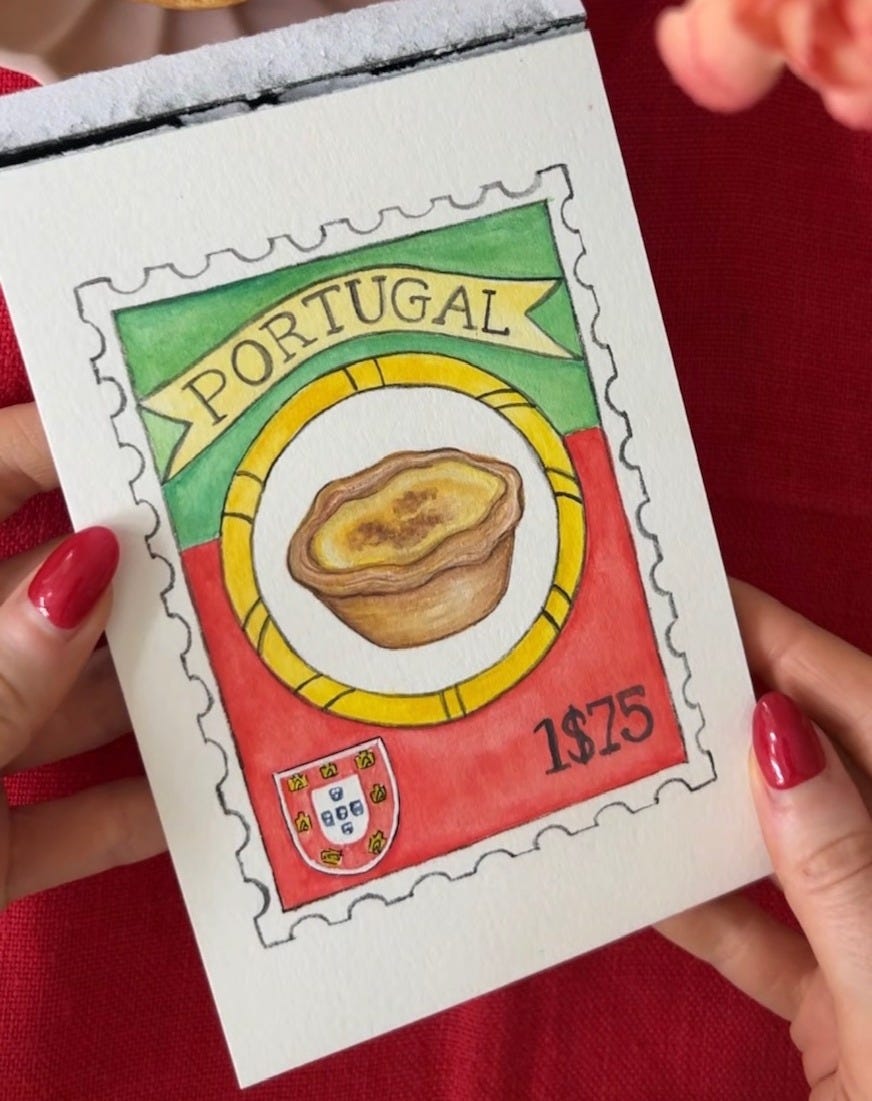
Around the World: Portuguese Pastéis de Nata
I'm baking and painting my way around the world for my latest illustrated baking series - and even though I've been putting these off for ages, it's time to visit Portugal for their custard tarts!

I have always put off making these, because they seemed like such a faff - the pastry is also quite unique, something in between a flaky puff pastry and a filo, and I’d only ever had them on holiday, so surely making them at home would never be as good? Well, I’m not necessarily claiming that my Pastéis de Natas are as good as a Portuguese bakery that has been making them for centuries, but they’re not as much as a faff as I thought….certainly not as much faff as hopping on a plane, so these will do very nicely, although I wouldn’t say no to some Portuguese sun too…
What Are Pastéis de Nata?
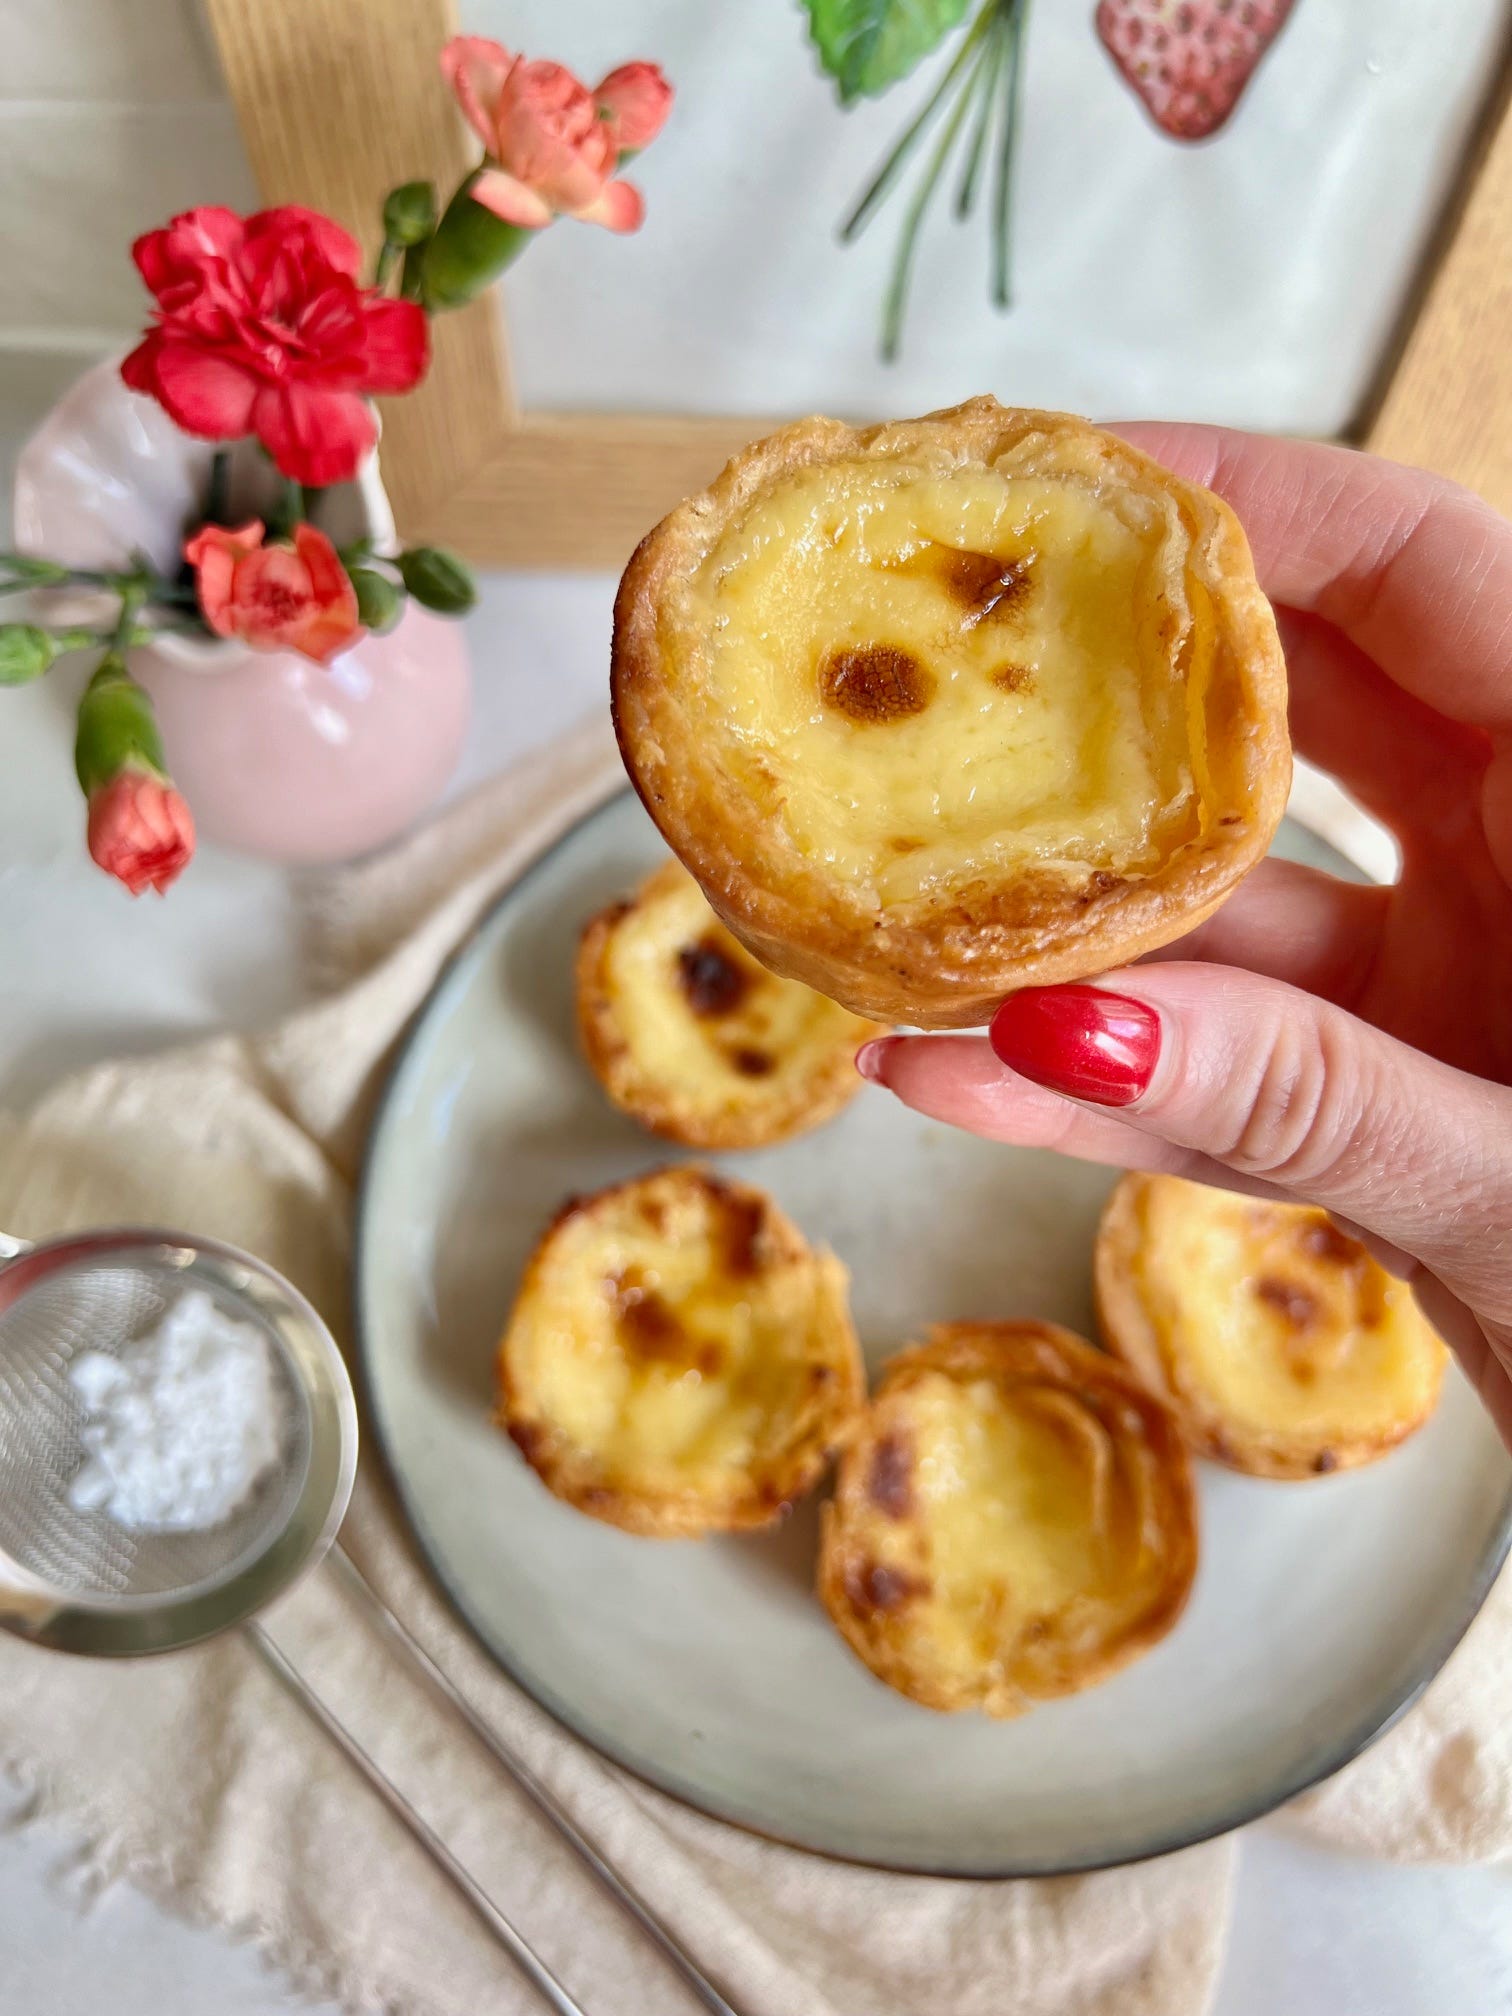
Pastéis de Nata (or pastel de nata singular!) are small, round pastries consisting of a crisp, flaky puff pastry shell filled with a creamy egg custard that’s lightly flavoured with cinnamon and lemon. They are typically baked until the custard has set and the high temperature they are baked at gives the characteristic blistered, caramelised tops. Although originating in Portugal, you can increasingly find these popping up in bakeries all around the world. I think they taste best when still slightly warm, and dusted with cinnamon and icing sugar.
From Monastery Kitchens to Global Fame
The origin of Pastéis de Nata dates back to the 18th century, and is actually tied closely tied to Portugal’s monasteries. During this time, many monasteries and convents used large quantities of egg whites for various practical purposes, most notably for starching their religious garments and for clarifying wines.
However, this left them with surplus of egg yolks, and what do you do with egg yolks? You make custard! So to avoid waste, the monks began creating pastries. One of these creations was the original custard tart that would evolve into what we know today as Pastéis de Nata.
The most famous origin point is the Jerónimos Monastery in the Belém district of Lisbon. After the dissolution of monasteries in Portugal in the early 19th century, the monks sold the recipe to a nearby sugar refinery, which then opened as the Fábrica de Pastéis de Belém in 1837 to produce these pastries commercially.
This bakery continues to produce the original recipe to this day, and the recipe is a closely guarded secret! Apparently, only six people know the recipe, and they meet behind closed doors to make the custard and pastry, which are them made into anywhere from 20,000 to 25,000 Pastéis de Nata daily (although confusingly, when bought from this specific bakery they’re called Pastéis de Belém).
Just think, if the Monks’ clothes hadn’t been so perfectly starched, we’d never have tasted these beauties! I love that they were born out of a desire to avoid waste. On that note, if you’re making these and you’re not a Monk with clothes to starch, make sure to save the egg whites to make a meringue or something afterwards!

To make you own Pastéis de Nata:
(recipe adapted from David Leite at Leite’s Culinaria)
Pastry:
250g plain flour
1/4 tsp salt
185ml cold water
225g unsalted butter (softened)
Custard:
15g plain flour
150ml whole milk
130g caster sugar
75ml water
1 cinnamon stick
Zest of half a lemon
1/2 tsp vanilla extract
3 large egg yolks
Add the flour, salt and water together, preferably in a stand mixer, and mix until the dough starts to pull away from the side of the bowl. It will be a very sticky dough.
Dust your worktop with flour and tip out the dough, using a scraper to make it into a rough square, then cover lightly with cling film and let it rest for 10-15 minutes.
Roll the dough out to a 16 inch square, but continually use your scraper to lift up the edges to make sure they’re not sticking adding more flour where necessary.
Use a pastry brush to remove the excess flour on the top of the pastry sheet, and use a spatula or spoon to dot around 1/3 of the butter onto the left two thirds of the square, and smooth it into a thin even layer.
Similar to a letter fold, fold the empty 1/3 of the pastry over onto the middle 1/3 of buttered pastry, and then remaining third onto that.
Rotate by 90 degrees, and repeat, rolling again to a 16 inch square, spreading two thirds with the butter, and folding in the same way.
For the last roll out, make it slightly bigger, around 16x20 inches, and trim the edges to make it a neater rectangle.
This time spread the remaining third of the butter all over the pastry sheet, just leaving a few cm at the borders.
From the shortest edge, roll the pastry into a log, ensuring the first coil is very tight.
Trim the edges, wrap in cling film, and place in the fridge for at least 2-3 hours.
Meanwhile make the custard. To avoid the flour clumping, first mix it with around 1/4 of the milk. Then heat the remaining milk to a simmer, and add in the flour mixture.
Add the sugar, water, cinnamon stick and lemon zest to a saucepan and bring that to the boil.
Gradually pour that into the warm milk, stirring continuously.
Leave for a few minutes so it is no longer boiling hot, then mix in the egg yolks and vanilla.
Strain through a sieve to remove the zest and any eggy bits, and leave to cool.
Grease a cupcake tin with butter and pre-heat the oven to 250 C (fan) - yup, it’s hot!
One the pastry has been chilled, cut it into rounds of about 3/4 an inch wide (around 12 of them).
Place each one in the centre of the cupcake wells, and leave until they have softened slightly, just enough so that you can mould them. Using some cold water to dip your thumbs in to stop them sticking, carefully work the dough up the edges of the wells, so that you have pastry ‘cups’.
Once all your pastry cups are ready, fill them with custard, leaving around 1/4 an inch at the top.
Bake for 12-15 minutes, until the pastry is nice and golden and the tops have the characteristic brown spots.
Leave to cool slightly in the tin so they’re ok to touch, before carefully removing.
Dust with a little icing sugar and cinnamon, and best served when still slightly warm!
Don’t forget to check out my other Illustrated Bakes from Around the World pages to learn more about different delicacies from all over the world, and the stories and recipes behind them!
They look absolutely delicious great job Alice